About Script
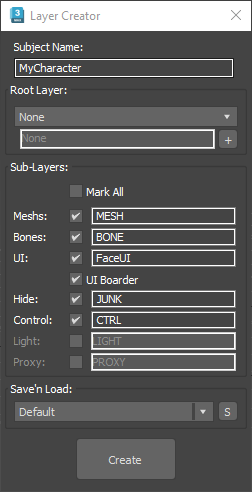
Layer Creator user interface
Whether working on simple or advanced projects in 3Ds Max, effective layer management is crucial. This includes a systematic approach to Layer Naming and establishing a clear Hierarchy. The naming system varies significantly across different projects, reflecting each project’s unique standards.
Root Layer:
Typically, a 3D scene across any software should contain at least three major root layers:
- Characters: This layer houses all your rigged and animated characters, ranging from humans and animals to any object that plays a significant role in your narrative.
- Objects: Here, you’ll find objects that characters interact with, which aren’t necessarily rigged.
- Environment: This layer is reserved for background elements or objects within your frame that don’t interact with characters. It can include landscapes, cityscapes, or interiors like houses or rooms.
Sub-Layers:
Within each root layer, there may be various subjects comprising multiple objects. For instance, a character might have bones, meshes, extra controllers, etc. To organize these elements, we use main layers for each subject and Sub-Layers for their components. The Sub-Layers vary based on type and project standards. Generally, you might need one or more of the following Sub-Layers:
- Mesh
- Bone
- User Interface
- Hide
- Control
- Light
- Proxy
The names of these Sub-Layers are self-explanatory. Depending on your subject’s requirements in the scene, you’ll choose the appropriate Sub-Layers. And with this script, you can perform all necessary tasks with just a few clicks. Remember, this script is designed to handle routine interface jobs on a large scale and at high speed.
How to
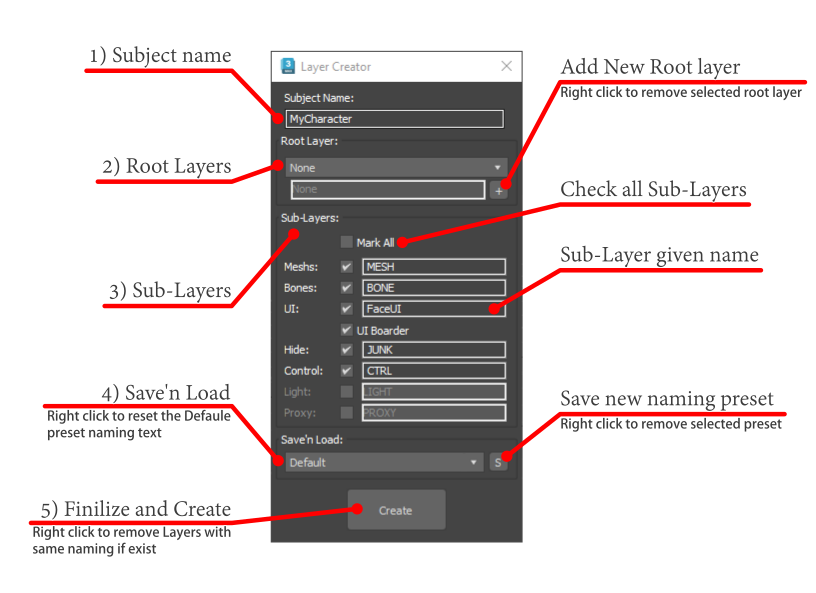
This script consists of five main sections.
-
Subject Name:
The first part, is a text field for your main layer, which is usually named after your subject. For instance, if you have a character named Johnny that is saved under the same name on your hard drive, you would enter that name here.
-
Root Layer:
This section includes a dropdown controller, a text field, and a small ‘Add’ button. By default, the dropdown list contains four items to choose from; the first option is ‘None’, indicating that the main layer will be created without any root layer. You can customize your root layer’s name using the text field. The ‘Add’ button allows you to insert a new blank field for adding an additional root layer. If you right-click on the ‘Add’ button, you can delete the selected root layer from the dropdown list.
-
Sub-Layers:
This section is quite self-explanatory. Here for each sub-layer, there is a checkbox to activate or deactivate it, and a text field for customizing the sub-layer’s name. Above all in this section, there is a ‘Mark All’ checkbox that allows you to select all or none sub-layers at once.
The ‘UI Border’ checkbox, located under the UI sub-layer, is a unique feature of this script. It creates a face UI border shape object with the subject title linked to it. These objects could only be created if the UI sub-layer is selected.
User Interface shape boarder with it’s title
This feature is one of my character rigging techniques, and I will provide the tools for creating a UI controller joystick in the near future. So stay tuned for new scripts.
-
Save’n Load:
And in this section is a place that you can save your own presets for different projects or different languages you chose. The dropdown list initially contains only a ‘Default’ item. By selecting ‘Default’, all your naming presets will reset to their default values. The small ‘Save’ button next to the dropdown list allows you to save the current changes you’ve made in the naming fields. If you click it, a query window will pop up, prompting you to enter a name for the preset.

Save new preset query window
By right-clicking on the ‘Save’ button, you can delete the preset currently selected in the dropdown list. A confirmation window will appear to ensure you want to delete the selected layer. Remember, you cannot delete the ‘Default’ item at the top of the list.
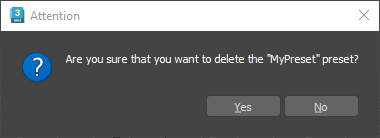
Delete preset query window
You can overwrite an existing preset by saving a new one with the exact same name; this will replace the old parameters with the new ones. In this manner, you can set your own default values, so each time you open the script, it will display your customized default naming values. And additionally, if you right-click on the dropdown menu itself, you can reset your ‘Default’ preset to the original installation values.
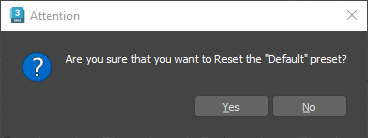
Reset default preset query window
-
Create:
Finally the large ‘Create’ button at the bottom will execute the task. With all names defined in the text fields and selected from the dropdown list, you will achieve your desired hierarchy with the specified naming convention. In addition to creating new layers, if you right-click on the ‘Create’ button, you will access the deletion function, similar to my previous script. That a confirmation window will pop up; if you click ‘Yes’, all layers with the same name and all objects within them will be deleted. If you click ‘No’, only the layers will be deleted, and the objects will remain.

Delete layers query window
Installation
- Purchase a copy of the .mzp file from Gumroad Button below
- Just drag and drop it to 3ds Max viewport, installer window will pop up
- if you want you can check to install “Remove Undeletable layer” free script too
- press the install button
- go to “Customize” menu and press “Customize User Interface”.
- in the toolbars tab in Category drop-down list Pick “Aslan”
- drag and drop “Layer Creator for Project” to your toolbar
- have fun
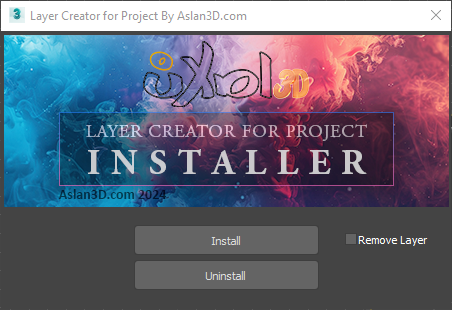
Layer Creator for Project installer window
 www.aslan3d.com
Leave a Reply
Want to join the discussion?Feel free to contribute!